Share with User
User sharing allows you to securely share individual vault entries with specific users in your organization. This feature enables selective collaboration while maintaining granular control over who can access your sensitive information.
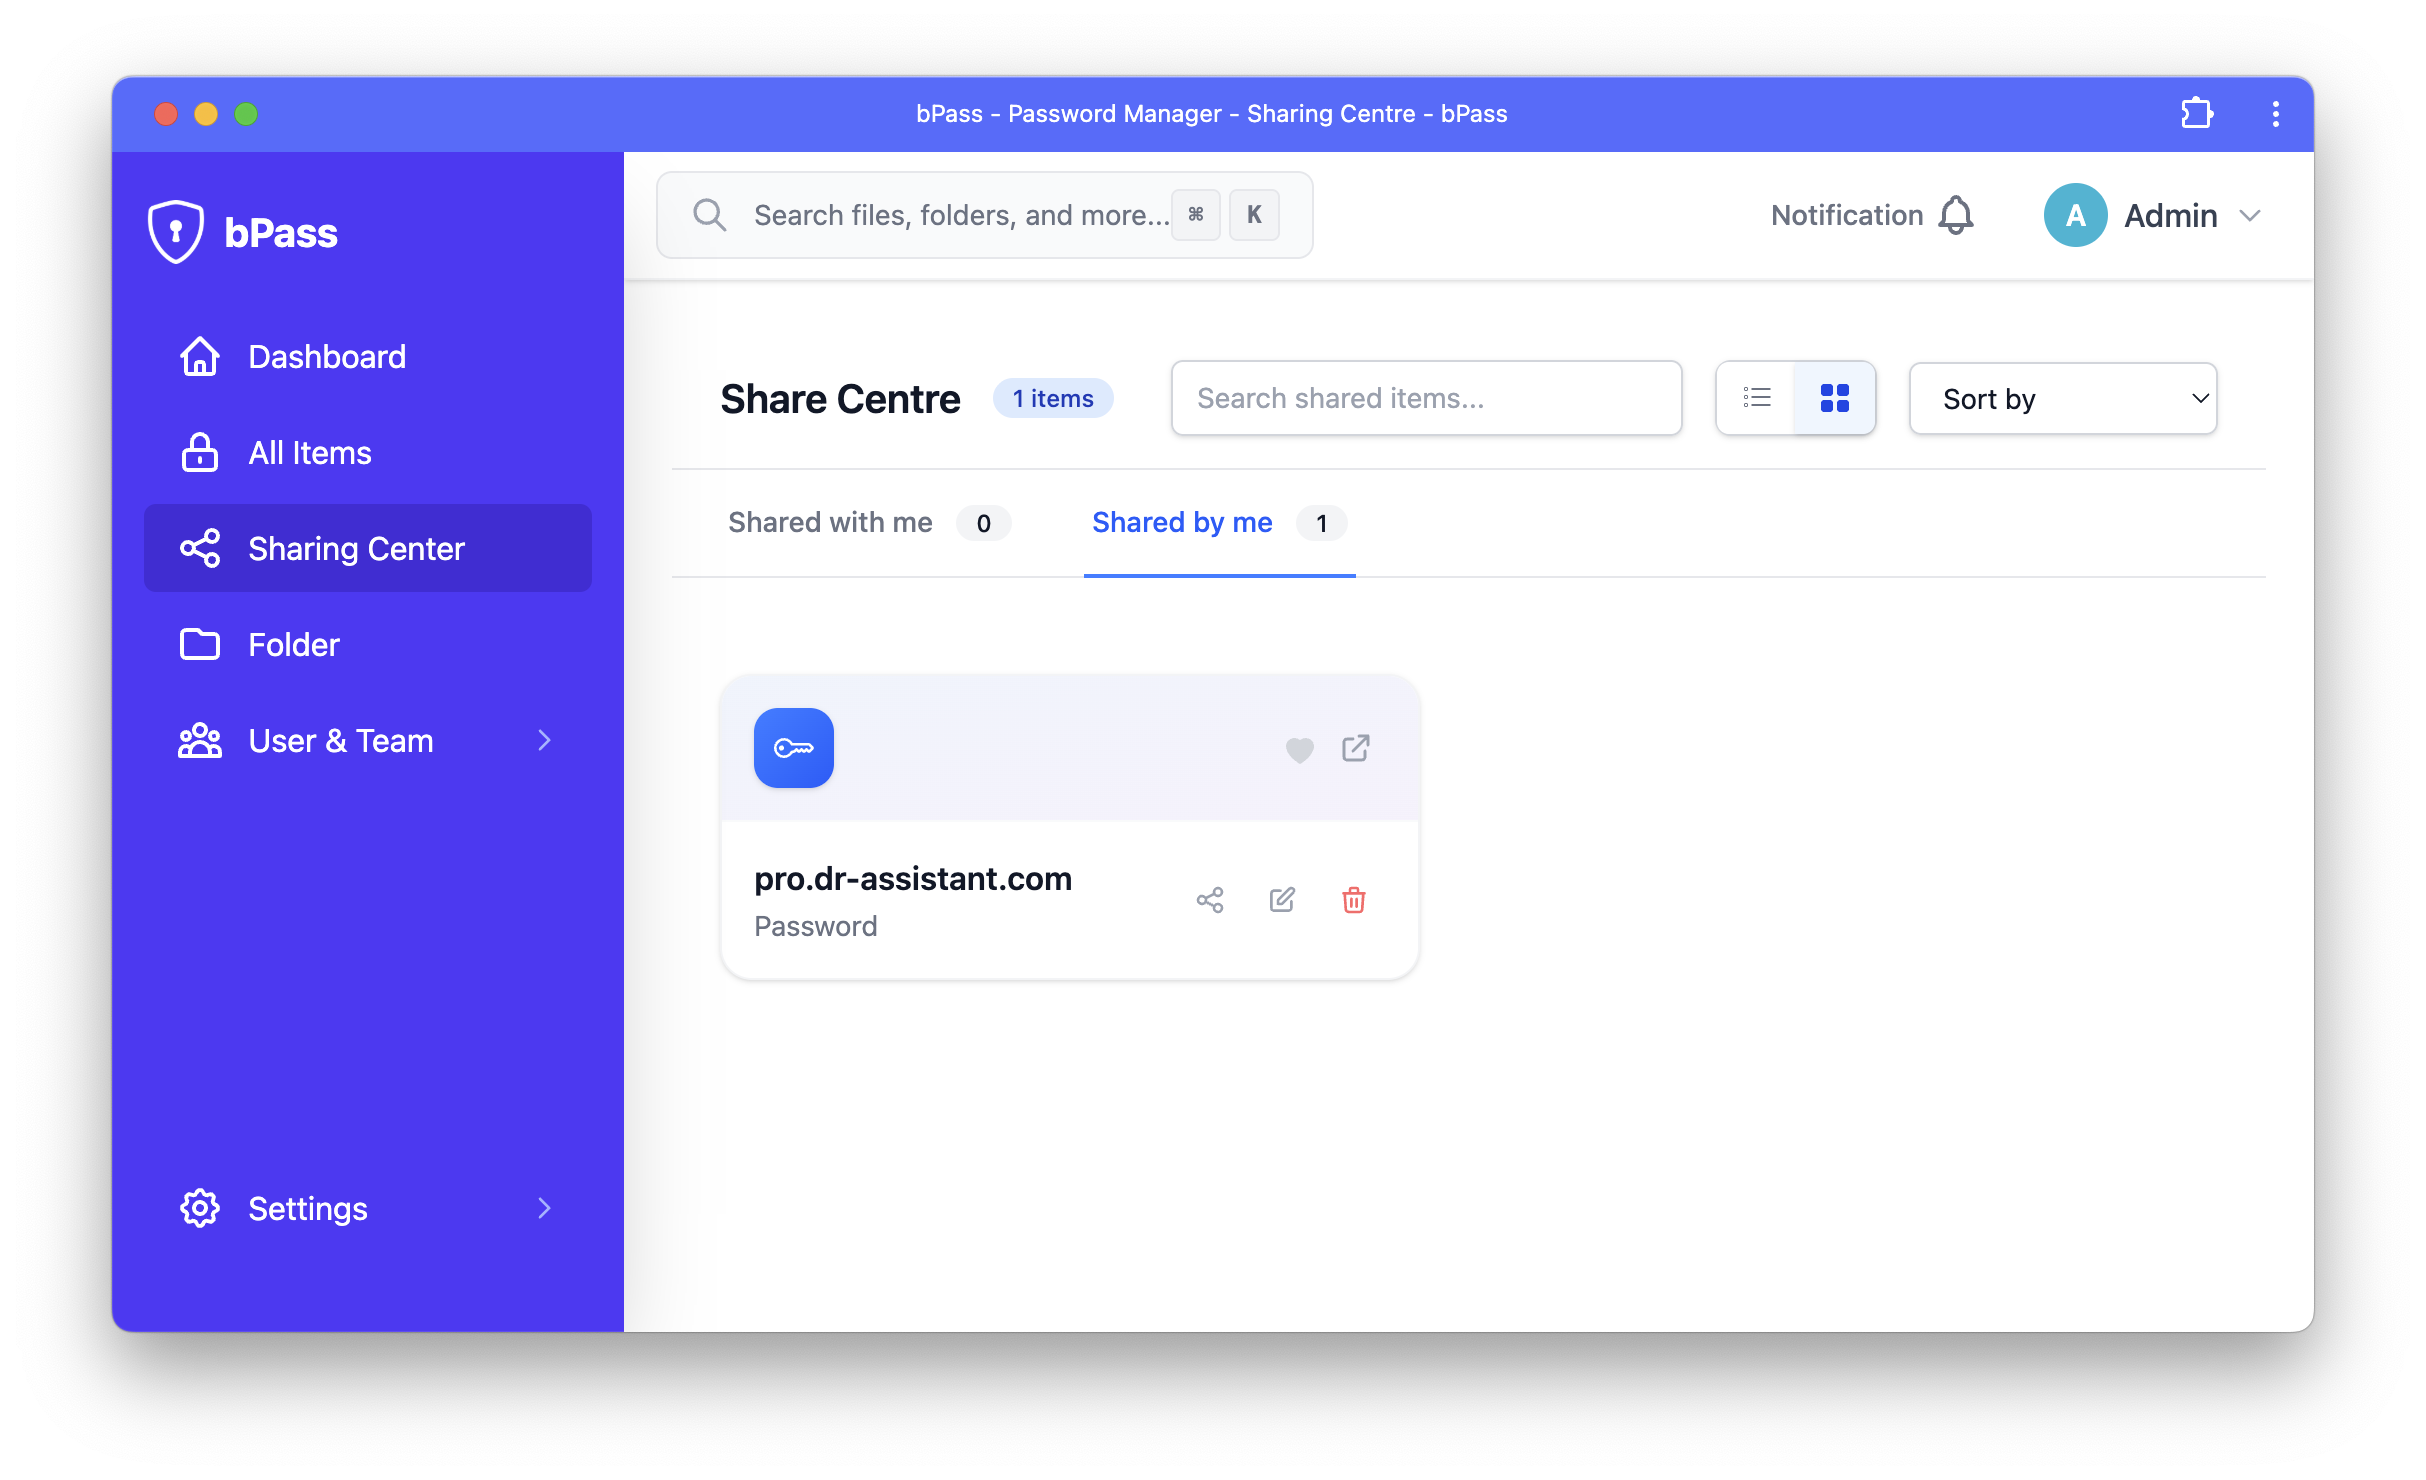
The sharing center provides a centralized view of all your shared items, including entries you've shared with others and entries that have been shared with you.
How to Share an Item with a User
Sharing vault entries with individual users is a straightforward process that gives you complete control over permissions and access.
Step 1: Select the Entry to Share
- Navigate to your vault and locate the entry you want to share
- Click on the entry to open its details
- Look for the "Share" button or sharing icon
- Click "Share" to open the sharing options menu
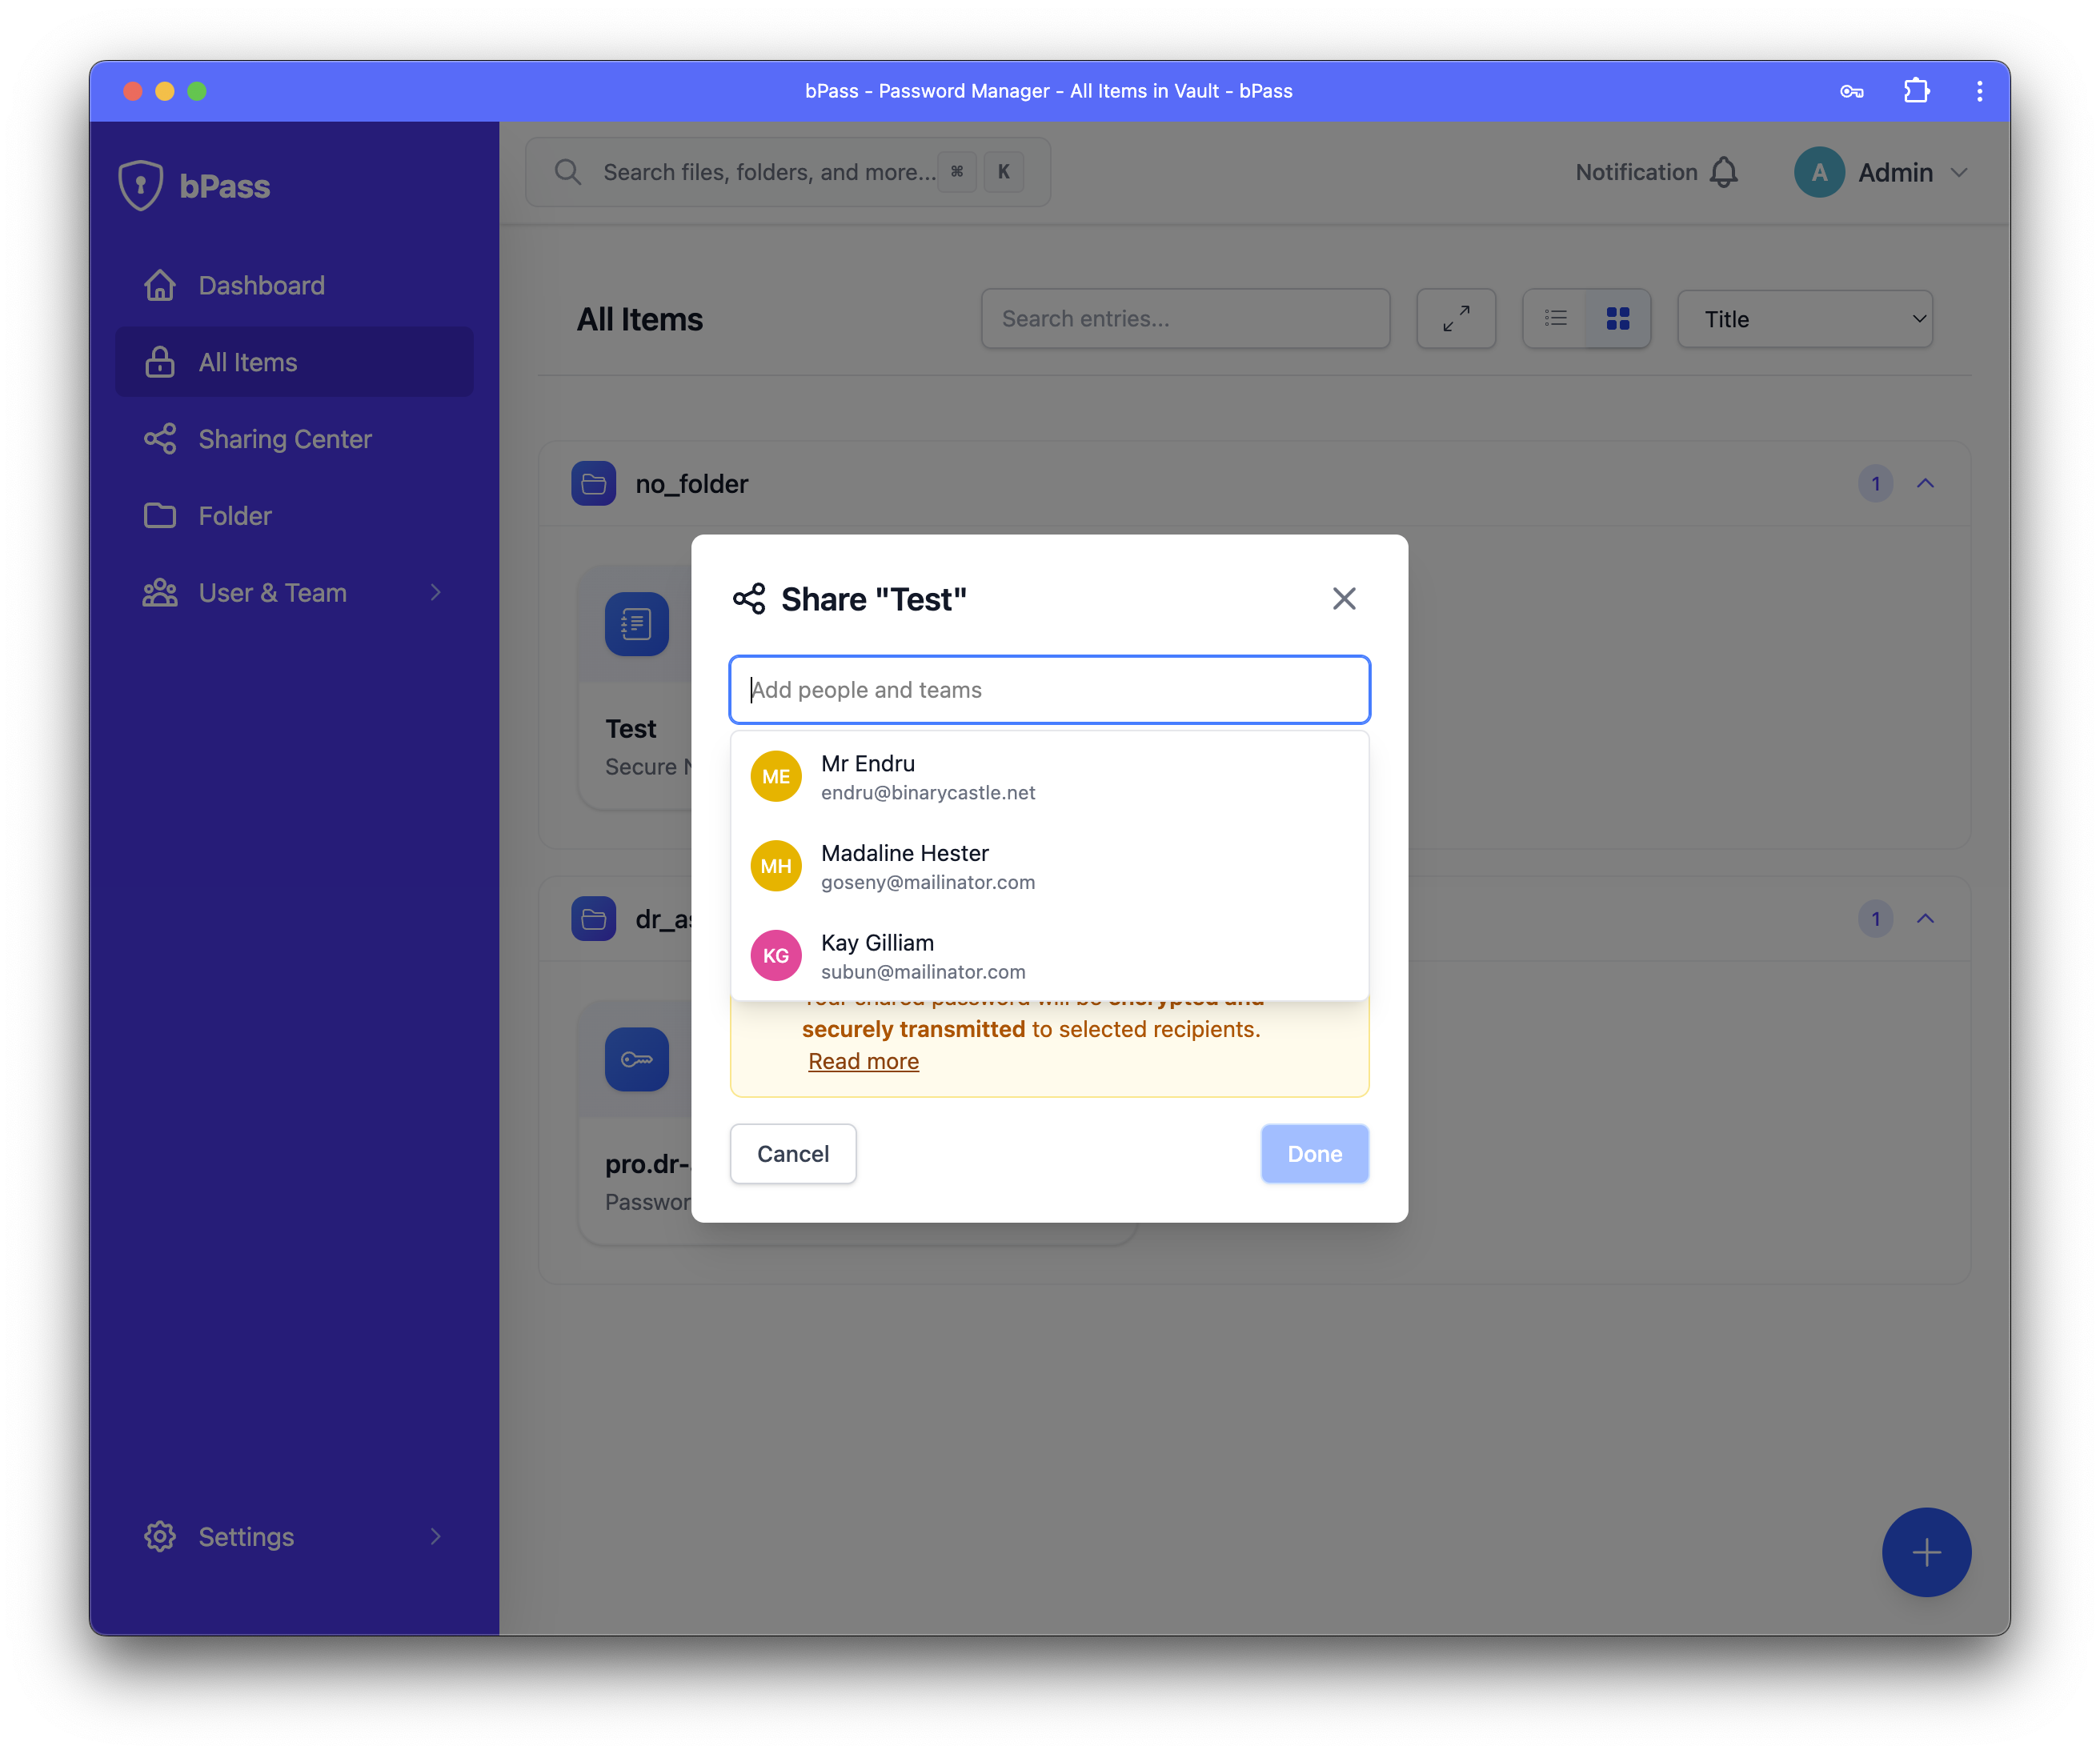
Step 2: Choose the User
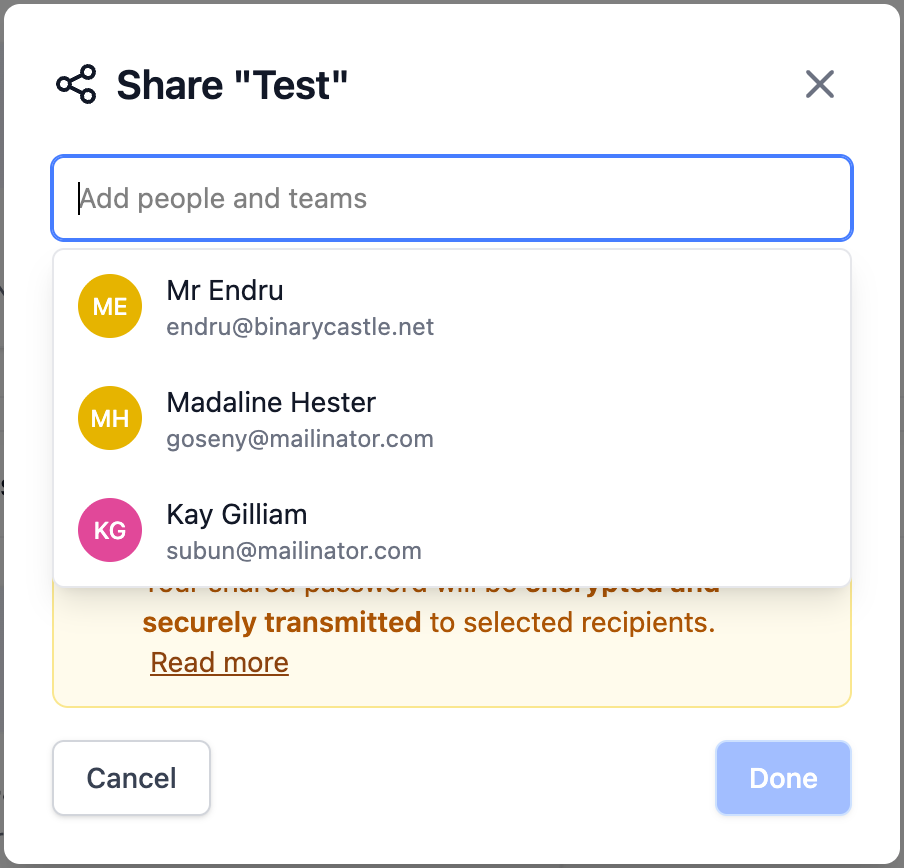
In the sharing dialog:
- Search for Users - Type the name or email address of the user you want to share with
- Select from List - Choose from users in your organization or team
- Add Multiple Users - You can share with multiple users at once
- Verify Recipients - Ensure you've selected the correct users before proceeding
Step 3: Set Permissions
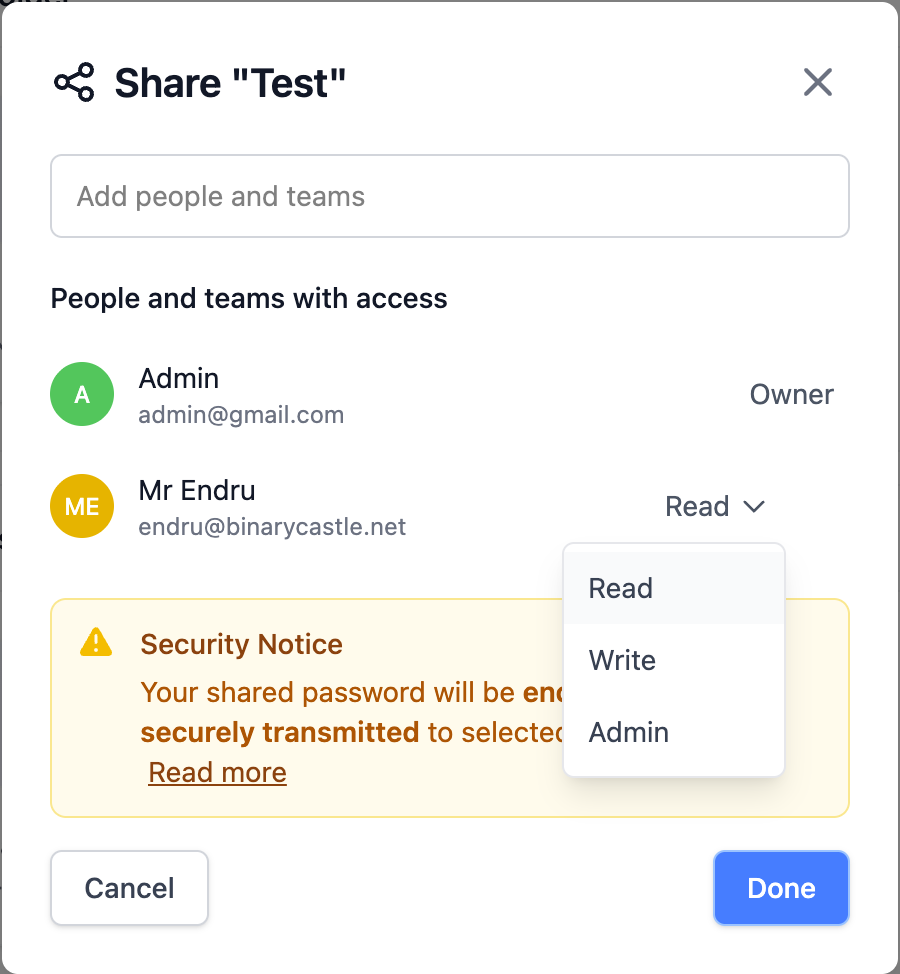
Configure the appropriate access level for the shared entry:
- View Only - The user can see the entry details but cannot modify anything
- Edit - The user can view and modify the entry information
- Full Access - The user can view, edit, and manage sharing permissions for this entry
Permission Levels Explained
View Only Access
- Can do: View all entry fields, copy information to clipboard
- Cannot do: Edit any fields, share with others, delete the entry
- Best for: Sharing read-only information like reference documents or credentials that shouldn't be modified
Edit Access
- Can do: View all fields, edit entry information, save changes
- Cannot do: Share with others, delete the entry, change sharing permissions
- Best for: Collaborative editing where users need to update information
Full Access
- Can do: Everything in Edit access, plus share with other users, manage permissions, delete the entry
- Cannot do: Remove the original owner's access
- Best for: Trusted collaborators who need complete control over the entry
Managing Shared Entries
Viewing Shared Items
Access your shared entries through multiple ways:
- Sharing Center - Central hub for all shared items
- Vault View - Shared entries appear with a sharing indicator
- Search Results - Shared entries are included in your search
- Notifications - Get alerts when items are shared with you
Modifying Share Permissions
To change permissions for an existing share:
- Go to the sharing center
- Find the entry you want to modify
- Click on the sharing settings
- Update user permissions or add/remove users
- Save your changes
Revoking Access
To stop sharing an entry with a user:
- Open the sharing center
- Locate the shared entry
- Click on the user you want to remove
- Select "Remove Access" or "Revoke Share"
- Confirm the action
Share Notifications
For Share Recipients
When someone shares an entry with you:
- Email Notification - You'll receive an email alert (if enabled)
- In-App Notification - A notification appears in your dashboard
- Sharing Center Update - The entry appears in your shared items list
For Share Owners
When you share an entry:
- Confirmation - Immediate confirmation that sharing was successful
- Access Logs - Track when recipients access the shared entry
- Change Notifications - Alerts when shared entries are modified
Security Considerations
Encryption
All shared entries maintain the same security standards:
- End-to-End Encryption - Entries are encrypted before sharing
- Secure Key Exchange - Recipients receive encrypted access keys
- No Server Access - Server administrators cannot decrypt shared data
Access Control
- Time-Limited Sharing - Set expiration dates for shared access (premium feature)
- IP Restrictions - Limit access to specific IP ranges (enterprise feature)
- Audit Trails - Complete logs of all sharing activities
- Instant Revocation - Immediately remove access when needed
Best Practices
- Principle of Least Privilege - Grant only the minimum access level needed
- Regular Reviews - Periodically audit who has access to your entries
- Use Team Sharing - For group access, prefer team sharing over individual shares
- Monitor Activity - Check access logs for unusual activity
- Clear Naming - Use descriptive names to make shared entries easily identifiable
Troubleshooting
Common Issues
User Cannot See Shared Entry - Verify the user has accepted the invitation - Check that the user's email address is correct - Ensure the user has logged in recently to sync updates
Permission Errors - Confirm you have sufficient permissions to share the entry - Check that the entry hasn't been moved or deleted - Verify the recipient's account is active
Sharing Not Working - Refresh the page and try again - Check your internet connection - Contact your administrator if issues persist
User sharing provides the flexibility to collaborate securely while maintaining control over your sensitive information. Start sharing today to enhance your team's productivity while keeping security as the top priority!